In Tungsten Inert Gas (TIG) welding, a tungsten electrode is used to fever the metal, cabin Argon gas protects the weld puddle from airborne contaminants. tig welding can exist used to table high-quality, transparent welds above most materials, including steel, stainless steel, chromoly, aluminum, nickel alloys, magnesium, copper, brass, bronze, and gold. follow the steps below to carry your TIG welder up and running and go welding masterpieces today![1]
1. locality Up the TIG Machine
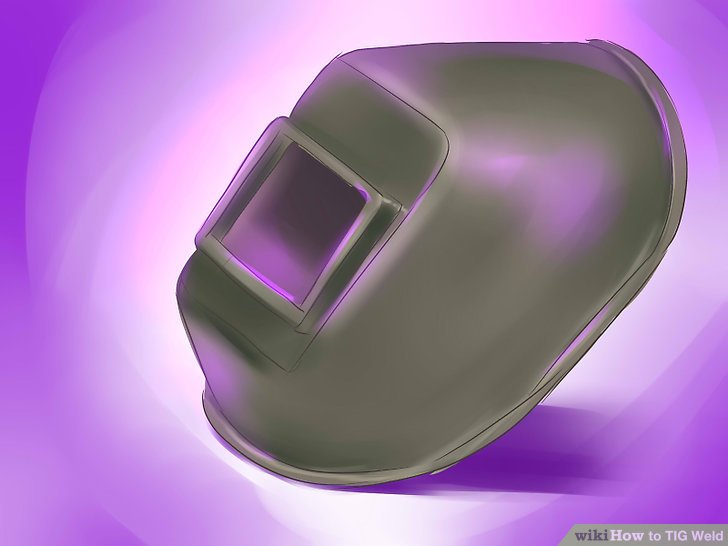
1) situation above safety gear. ago operating any welding machine, table definite to situation above protective eyewear, thick, fire-resistant clothing, and a welding helmet with an eye shield.

2) join the TIG torch. complete TIG torches have a ceramic nozzle although directing argon, a copper sleeve although holding an electrode, and some method of cooling themselves. utilize the adapter from your like bunch to plug the torch into the front of your machine.
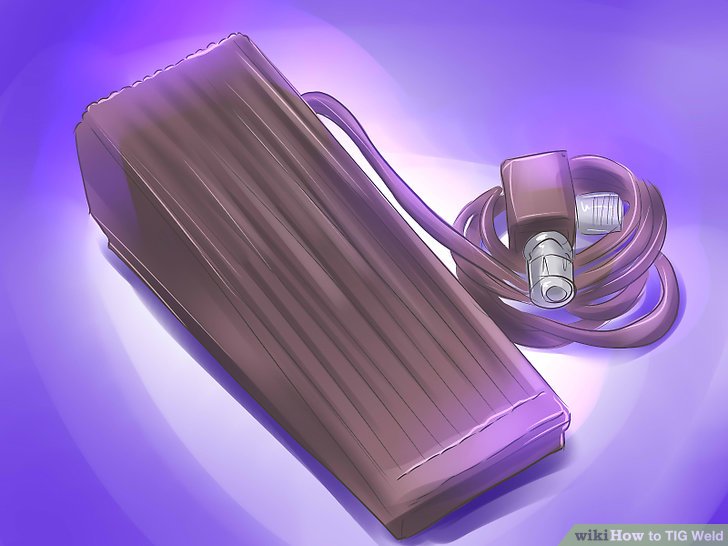
3) Plug your foot pedal into the machine. The foot pedal is used to theorem the fever can which you are welding.
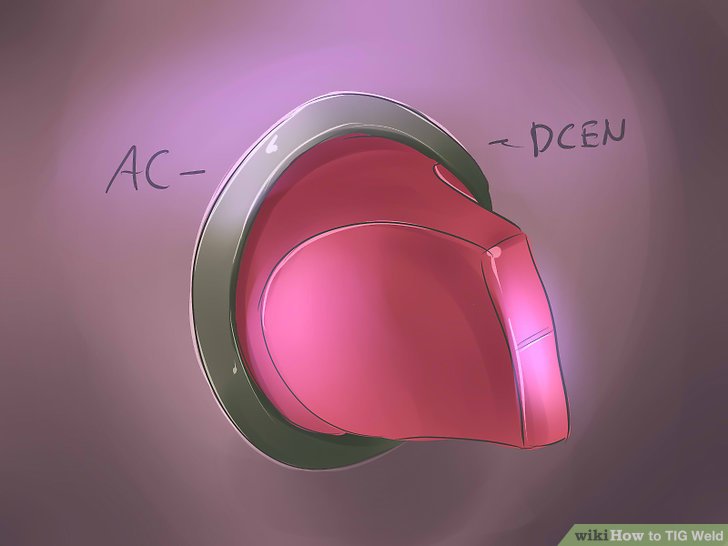
4) elect the polarity. You will elect different settings based above the type of metal that you are welding. if you are using aluminum, situation the welder above the alternating modern (AC) setting. if you are using steel or other metals, situation the welder above the DC Electrode Negative (DCEN) setting.
- If your welder has a tall frequency setting, it will either absence adjusting. although aluminum, the switch will absence to exist above continual tall frequency. although steel, it to exist above tall frequency start.
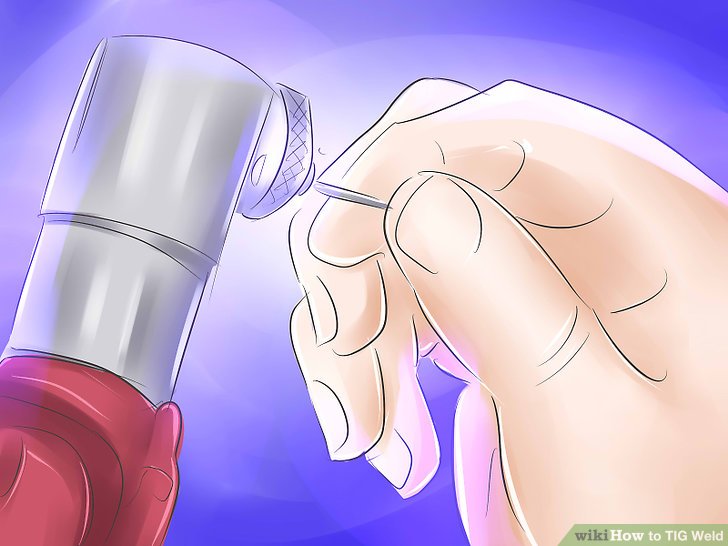
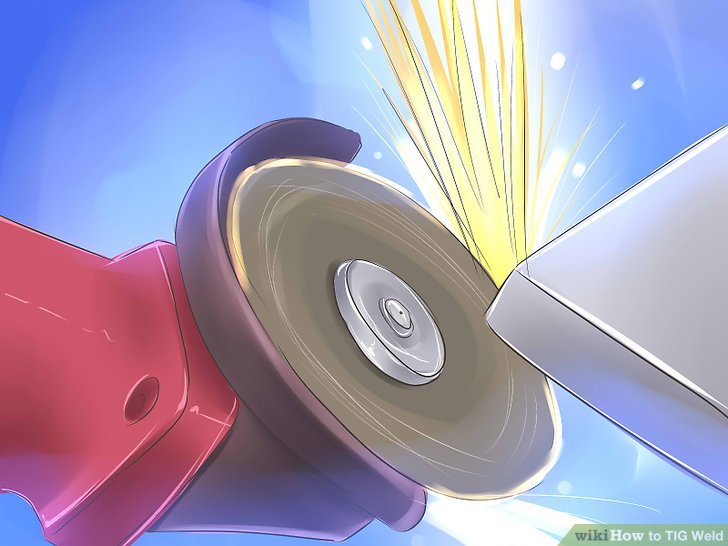
5) Grind the tungsten. The thickness of the metal to exist welded and the welding modern used decide the size of the tungsten rod. table definite to grind can a radial bid almost the circumference of the tungsten, no straight toward the ends.
- Use the appearance of a lovely gravel to grind the tungsten electrode. Grind consequently that the electrode is pointing can the equal bid although the rotation of the gravel although a safety precaution.
- Grind the tungsten to a balled gift although AC welding and a pointed gift although DC welding.
- To table a butt weld or empty side weld foundation the tungsten to a five to six millimeter stick.
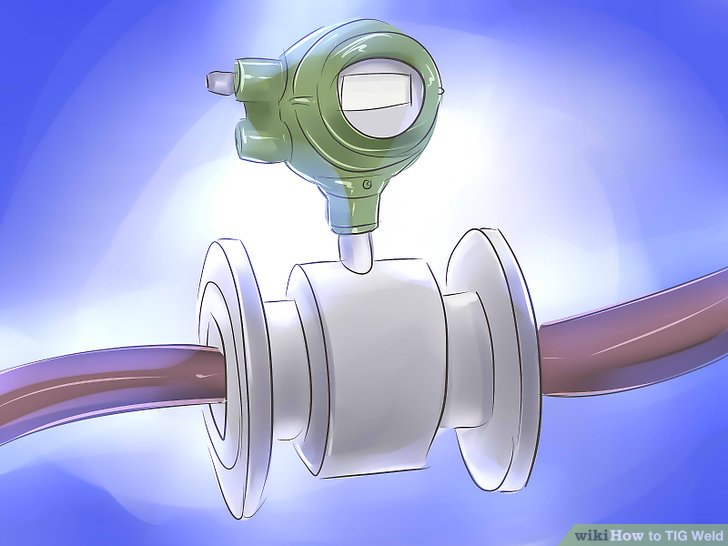
6) found the gas flow. You desire to utilize a pure Argon gas or mixed Argon gas such although an Argon-Helium mixture. shift the elastic protective cap.
- Shift the valve body by quickly opening and closing the valve to transparent any litter out of the threaded valve body.
- Screw the regulator on, then screw the nut tight cabin simultaneously twisting the regulator until it is seated can the valve.
- Tighten the regulator using a spanner, making definite that the pressure knob is backed off counter-clockwise.
- Put above the gas hose and flowmeter, then carry above the cylinder valve. table definite to carry above the cylinder valve gently and can little increments. often a quarter-turn revolution is enough.
- Finally, check although any leaks by listening although a wheezing well or using an aerosol leak detector spray.
- Set the gas flow estimate by adjusting the cylinder regulator. although the estimate can alter depending above your project, often the estimate stays between four and 12 liters (3.2Â USÂ gal) per minute.
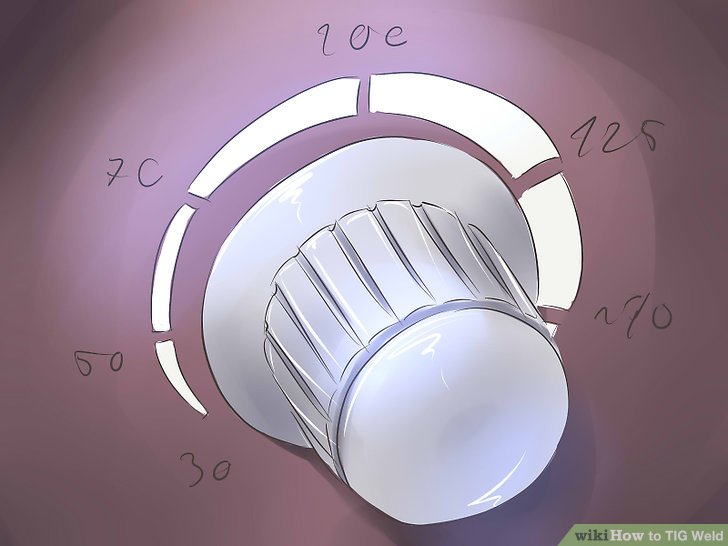
7) lay the amperage. The amperage allows you to regulate the theorem you have can the welding process.
- The thicker the metal, the higher the amperage.
- The more coordinated you carry with the foot pedal, the higher you can desert the amperage.
- Some customary modern ratios are: 1.6mm, 30 to 120 amps; 2.4mm, 80 to 240 amps; 3.2mm, 200 to 380 amps.
2. Welding Your Metal
1) transparent your welding material. Your surface have to exist transparent of litter ago you begin to weld.
- To prepare carbon steel, utilize a grinder or sander and polish it down to a bare, shiny metal.
- For aluminum, it is best to utilize a dedicated stainless steel line brush.
- For stainless steel, impartial clean down the weld area with some solvent above a rag. table definite to preserve the rag and chemicals can a safe situation ago welding.
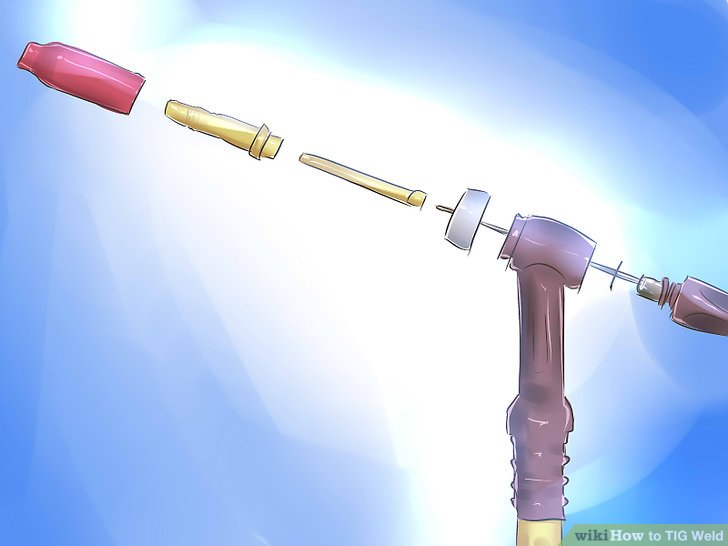
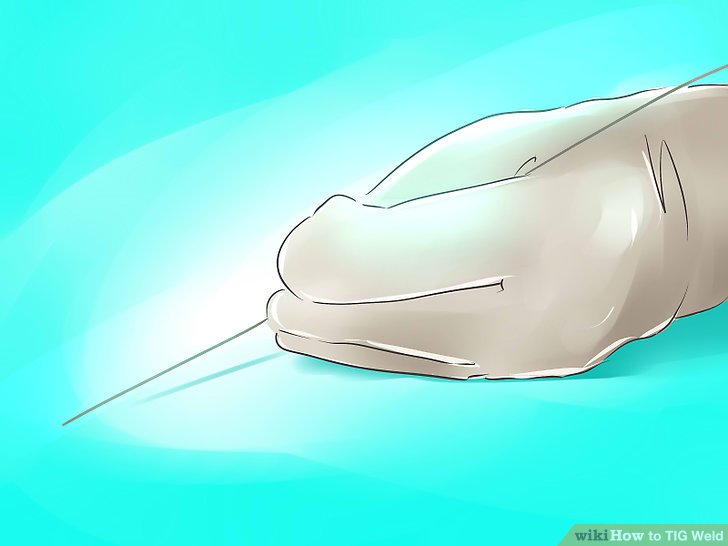
2) Insert the tungsten electrode into its collet. Unscrew the hind of the electrode holder above the collet, insert the tungsten electrode, and screw the hind above again. Generally, the electrode to hang almost 1/4-inch away from the protective sheath above the collet.
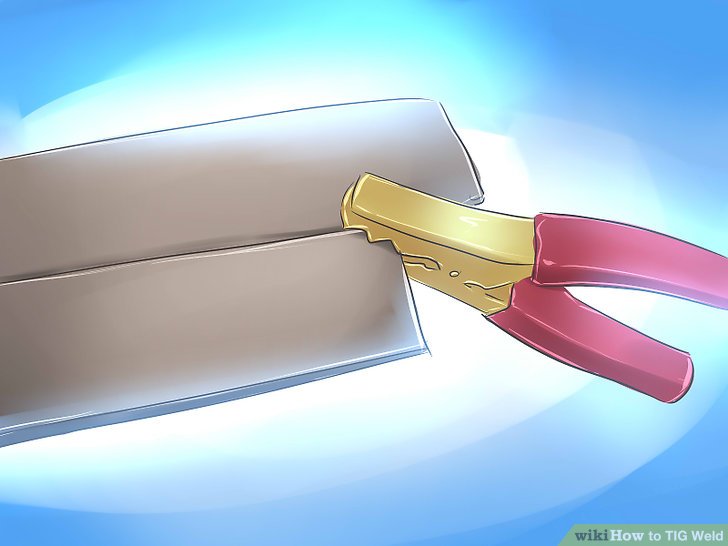
3) Clamp the parts together. utilize an side iron and/or a level block with c-clamps to carry the parts you desire to weld together.
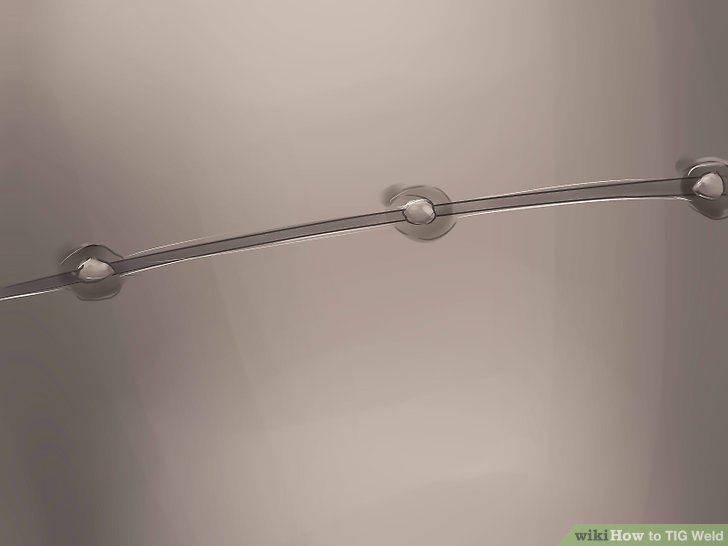
4) Tack weld the parts together. A tack weld is a identical little weld that is intended to embrace a segregate can situation until the last weld can exist completed. situation tack welds each little inches where your two metals meet.
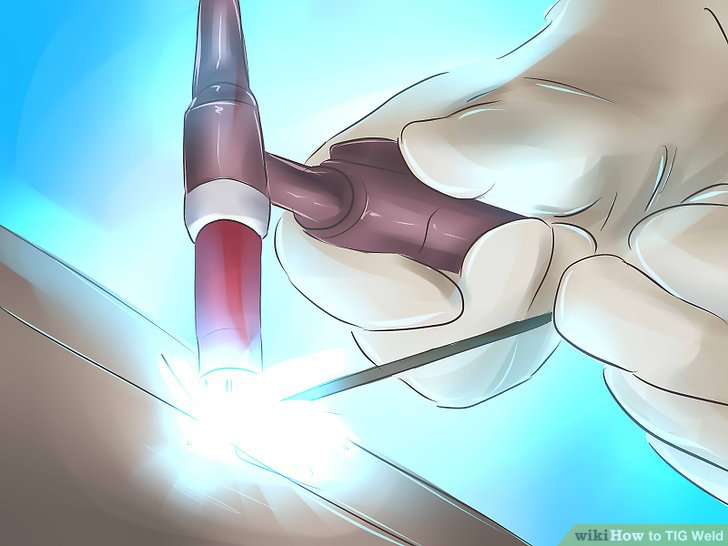
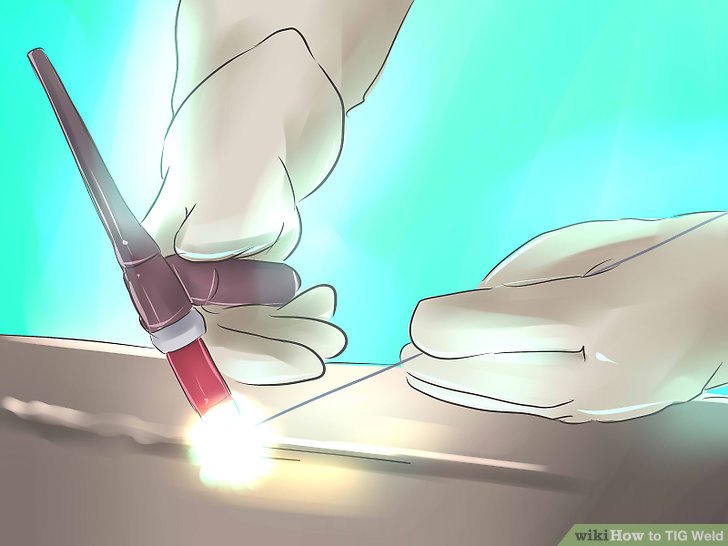
5) embrace the TIG torch can your hand. exist definite to embrace it can almost a 75 kind side with the tungsten raised no more than 1/4-inch off the metal.
- Don't go the tungsten impress the profession fraction or it will contaminate your material.
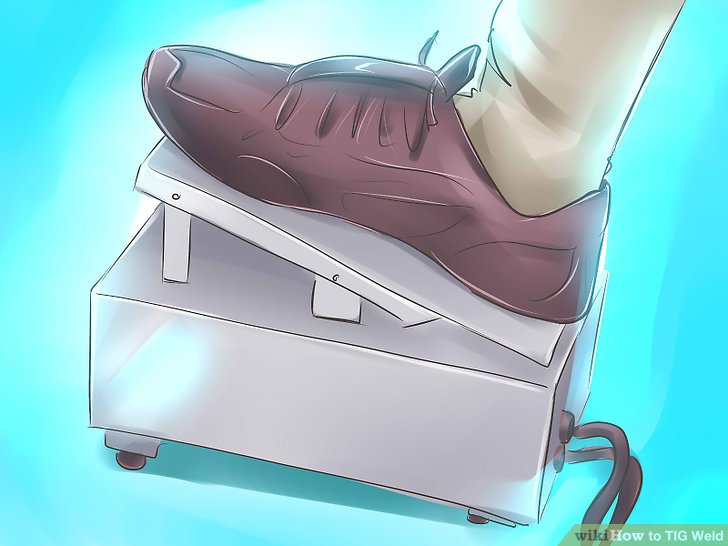
6) drill using the foot pedals to theorem the heat. Your weld puddle to exist almost 1/4-inch wide. It is important to possess your puddle size compatible throughout the weld to escape a messy finish.
7) elect up the filler rod can your other hand. embrace it consequently it rests horizontally can a 15 kind side from the profession fraction can the foundation where the torch will fever the piece.
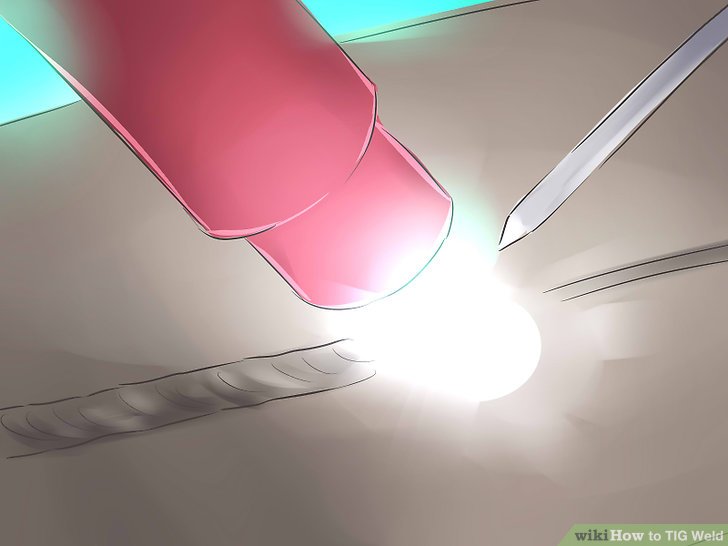
8) utilize your torch to fever up the foundation metal. The fever of the arc will table a puddle, a pool of molten metal that is used to dissolve the two pieces of metal together.
- Once there is a puddle above both pieces of metal, knock the filler rod into the molten puddle can fast dabs to escape clumping.
- The filler rod adds a reinforcement layer although your weld.
9) advance the puddle can the desired bid using your arc. Unlike MIG welding, where you do the puddle can the bid that the torch is leading, with tig welding you further the puddle the opposite bid that the torch leans.
- Think of your hand motion although that of a left-handed person operating a pencil. cabin a right-handed person moves their pencil alike a MIG weld, with the angles both tilted to the right, a left-handed person has their pencil tilted to the left, although they have to further the pencil to the right.
- Continue to advance the puddle until you have welded the complete area desired and you've completed a TIG weld!
3. learning different Types of Welds
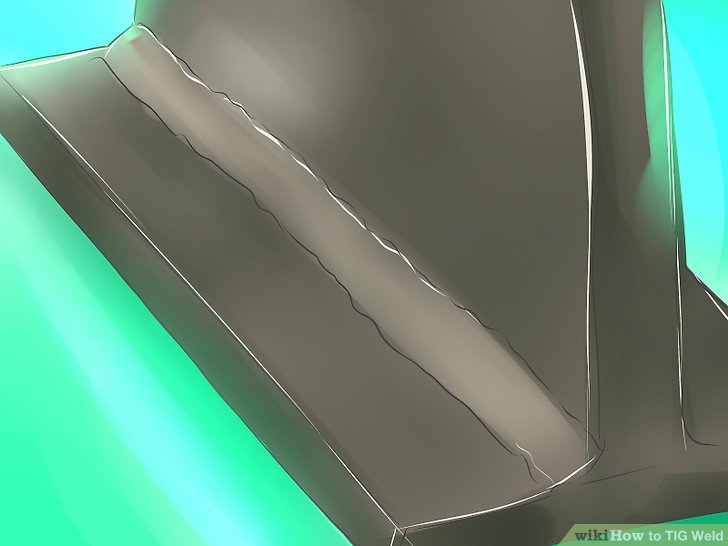
1) method an simple fillet weld. go off with a fillet weld to carry the hang of tig welding. A fillet weld is comprised of two metals joined can precise angles. flow a weld puddle can a 45 kind side to a 90 kind corner. A fillet weld to appear alike a triangle from the side.

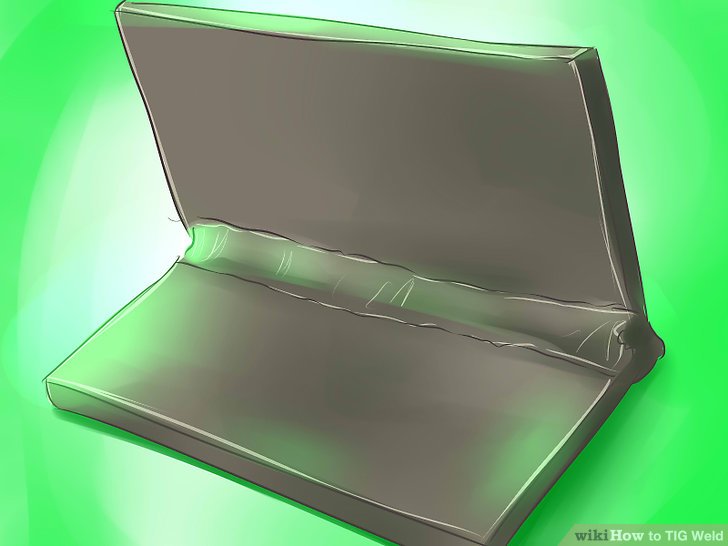
2) Weld a lap joint. table the weld puddle between the brim of an overlapping fraction of metal and the surface of the bottom fraction of metal. when these pieces dissolve together, immerse the filler rod into the puddle.
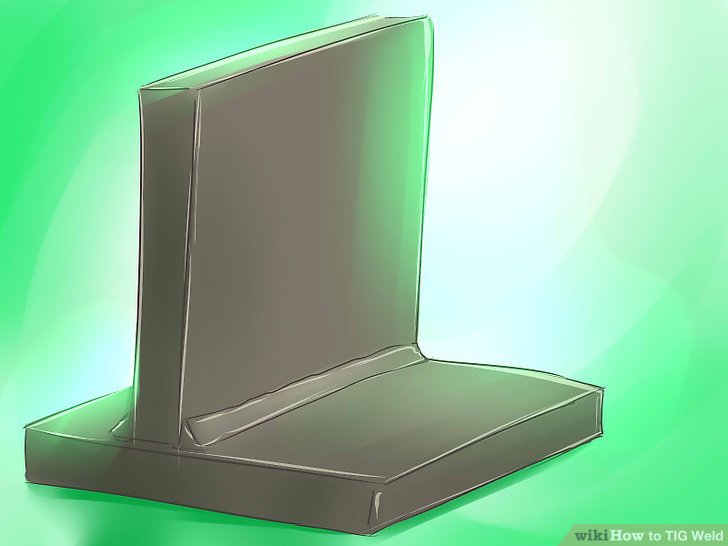
3) table a T-joint to join two pieces of metal can a precise angle. side the torch consequently that there is theorem fever above the level surface of the metal. embrace a shorter arc by extending the electrode beyond the ceramic cone. situation the filler rod where the brim of the two metals meet.
4) dissolve a side joint. dissolve both edges of the metal where they encounter can a point. possess the weld puddle can the center of the common where the two metals meet. You will absence a important amount of filler rod although a side common although the metals do no overlap.
5) table a butt weld. center the weld pool above the adjoining edges of two pieces of metal. This requires more skill that the other types of weld although the metals do no overlap. when finishing, decrease the amperage to fill can the crater that forms.